Showing posts with label Beach houses. Show all posts

Wednesday, May 31, 2017

A pool landscaping update


We have made some significant changes to the landscaping around the pool in the backyard.  The pool was quite exposed previously,  with the neighbours house virtually looking directly onto it.  This, combined with an almost complete absence of greenery, made the pool area feel barren and boring.   We wanted to create a sense of privacy and also make the pool a more relaxing place to be.  We began by creating a garden bed along the fence line with the intention of growing plants to create a natural screen between us and our neighbours.   A second garden bed was then added between the pool and the cabana and we are thrilled with the end result, the entire area is far more intimate and more resort like now, a much more enjoyable place to go for a swim!


The new garden beds and decking going in.


The fabulous new garden bed in front of the cabana. We currently use the cabana as a guest room, however I am tossing up changing the space into a backyard games room. 


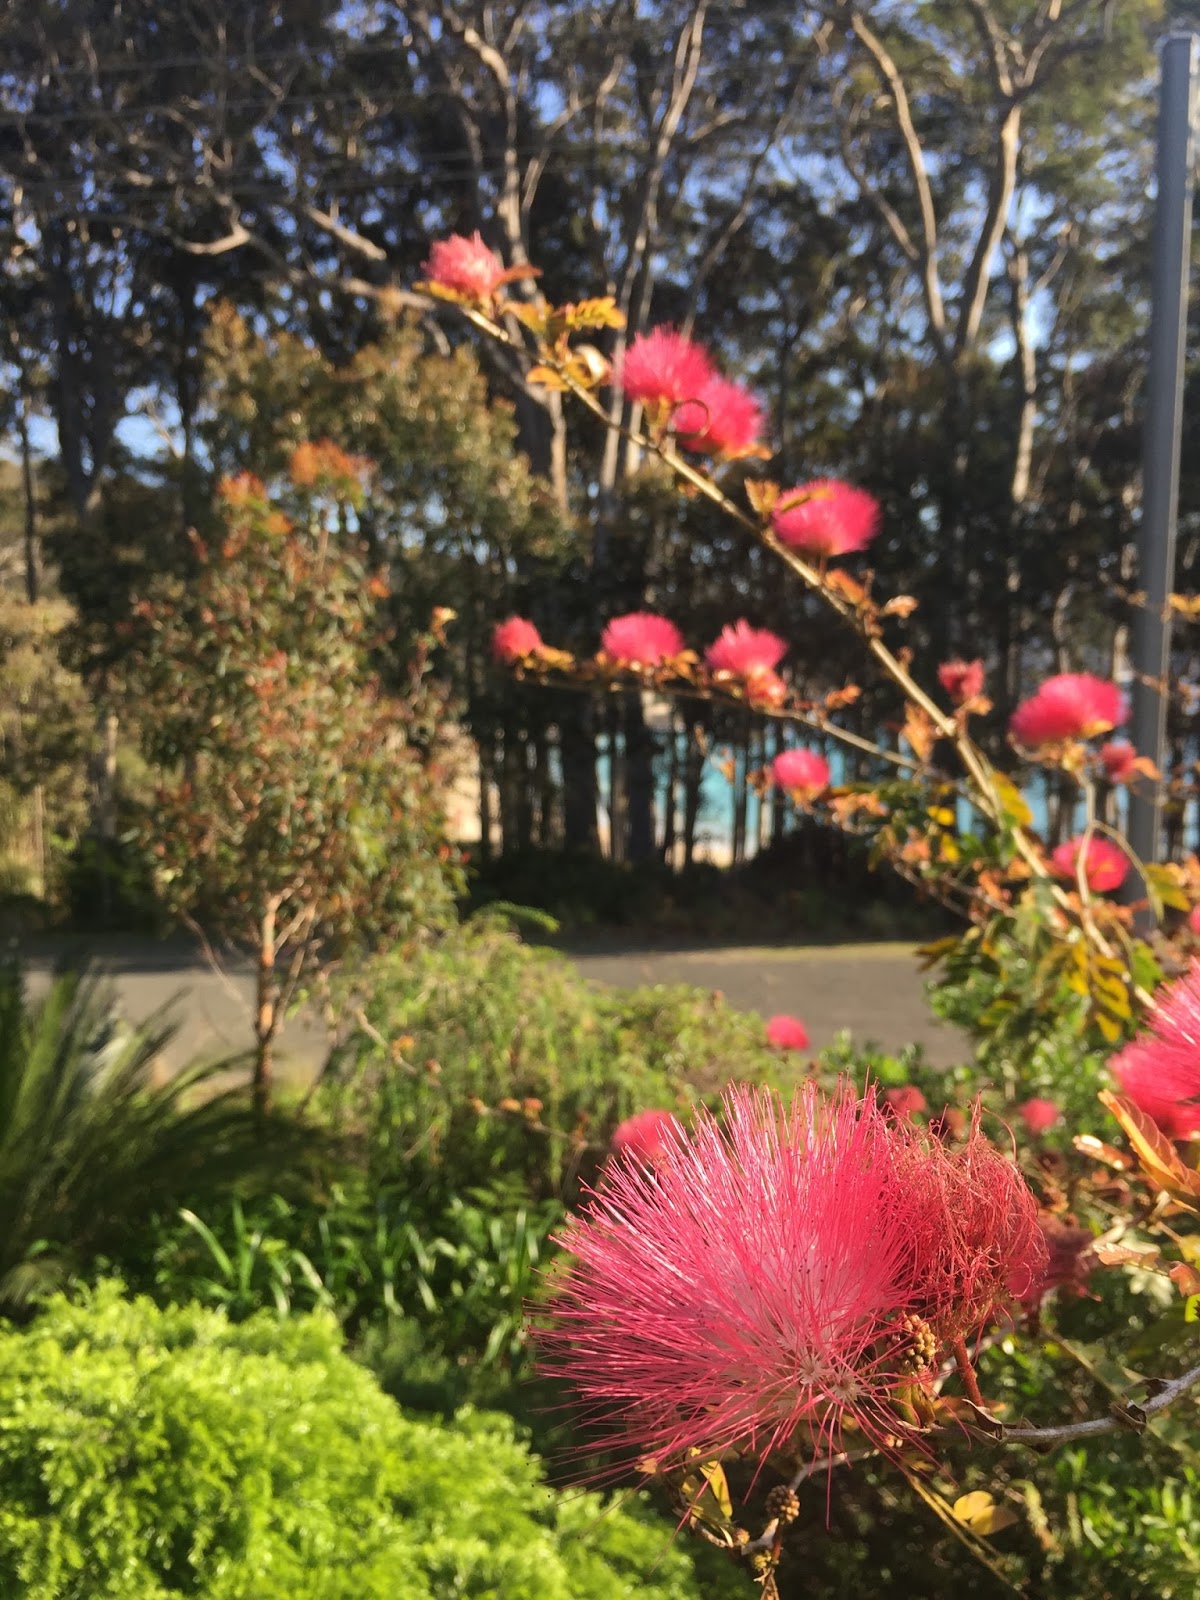
A sneak peak into the cabana through the bromeliads, gingers, cardboard palms, strelitzia and  one flowering canna lily.


The new garden beds with their amazing tropical plants have created an incredible pool oasis.  Ross spent hours scouring ebay and gumtree and was able to source most of the plants cheaply and in some cases they were even free! The mature yuccas for instance were free to whomever was prepared to dig them up.  Taking the time to source mature plants was well and truly worth it as the garden looks like it has been there forever.  We were also very careful to choose plants that do not shed lots of leaves as cleaning leaves out of pools is a nightmare and not something either Ross or I fancied spending our weekends doing.


There were two things that precipitated all this work to the back garden, the first was that all the decking had to be replaced around the pool. The previous home owners had painted the boards black which had damaged the wood badly.  We were unfortunately also unable to flip the boards as they had been nailed down.  Sadly we had to start again completely which really troubled me environmentally but at least the new decking has been screwed in and will be treated only with the appropriate wood decking products! 

The second thing that inspired the new pool landscaping was the position of the pool fence.  On the garden side of the pool there was a small strip of garden between the pool and the pool fence.  Visually and practically the position of the glass fence just didn’t work and I am so glad we moved the fence to the coping, as it has made an enormous difference to how the whole area appears.  Practically it has also made a big difference, as there are no more bits of grass and dirt being tracked by the kids straight into the pool!


New pool fence in and what a difference!  Meanwhile the plants are maturing well and it will not be long until the green screen takes it's full effect, providing some privacy from the neighbours.  The greenery when layered against the gum trees beyond will add even further depth to the garden, increasing the sense of space.   It is a lovely place to be now, it really is extraordinary the difference plants can make to the feel of a place.


Wednesday, May 24, 2017

The Laundry


So my new years resolution this year, along with the ones I make every year (to read more, exercise more ... similar to everyone else's I imagine!) was to write more regularly on the blog.  I have always enjoyed writing and I think that it helps me with my anxiety, much like writing a diary I suppose.  I also love looking back at all my old blog posts and feel sad that the blog is so sadly neglected nowadays.  As it is virtually mid way through the year, I thought it might be timely that 2017 might be the year that I actually keep one resolution.   I am determined to try and make some changes this year and one of them might as well be updating the blog.


So in the spirit of updating the blog, here is a house update.

We have finished the cabinetry in the laundry which looks fabulous and is also very practical.  I am not quite sure how I have lived without the hanging rail for so long.  Every laundry should have one. Especially when you have two lots of school uniforms to iron each week.  When we purchased the house there were built in cupboards along the wall on one side of the laundry and on the other side ran the bench top with space for a washer and dryer below, at the end of the benchtop there was a laundry sink with a standard Bunnings cupboard underneath.  Left of the washer and dryer there was nothing.  The benchtop was in place but below it a big empty gap.  I suspect that the original owners were intending to install more cabinetry at a later date or perhaps planning to have bespoke baskets made to store laundry in?   We decided the empty space was best used to make two very large laundry drawers. 


These were custom made by our cabinet maker and I am delighted with the outcome.  Both boys do a lot of sport and consequently there are scary amounts of washing to be done.  These laundry drawers are life savers.  The laundry always looks neat and tidy regardless of the amount of stinky dirty washing accumulating.   At the same time we also replaced the cheap Bunnings cabinet under the sink with a cabinet that matched the pull out laundry drawers.  Above the benchtop,  I made use of the blank wall and had more cabinetry made to fill in the space and also for further storage.  The position of these cabinets then created the natural wall to position a hanging rail over the laundry sink. 


The cabinetry above the benchtop is so useful and has the additional benefit of making the room much prettier.  When you have to spend a good deal of your time in a room doing chores you may as well make it as pretty and pleasant to be in as you can!

Laundry shelves store vases, spare pegs, bits from my enamel collection, beach towels and some of my many baskets.   I am delighted with the changes to the laundry and now it only needs one more thing.  An interesting light fitting, any suggestions welcome!

Sunday, May 8, 2016

A garden update

Lately I have found that rather than play "catch up" I long to simply document the day to day.  I find myself feeling guilty that I haven't written up the last trip to Canada (almost 5 months ago now, yikes!)  or the most recent school holidays and then, because I don't actually feel like writing about either of those things, the blog just gets ignored.  I am wondering if, rather than feeling guilty about not documenting my life in calendar order, it might be a better idea to just write about whatever I feel motivated to.  That way I might actually end up writing something on the blog, something is surely better than nothing!

Inspiration today lies in documenting the continuing work on the garden at our "new" house.  When we purchased this property the garden was virtually a blank slate and even featured a travertine path that quite literally led to nowhere.  As Ross and I are both passionate gardeners the unloved state of the garden actually appealed to us!  We both saw it as a welcoming challenge and have really enjoyed working on the transformation of the garden.


One of the first things that we addressed in the garden was the problem of the foot path that led to nowhere.


It is the front path that leads directly out from our front door to the street, but it just ended at nothing at the start of the nature strip!  It drove me mad as the letter box was on the other side of the driveway at the corner boundary of the property and there was no front fence, hedge or anything else installed to define the perimeter of the property or to make sense of that bizarre front path.


We deliberated for some months about whether to plant a hedge as a front border, install a traditional wood picket fence or to do a sandstone and picket fence combination.  The sandstone combination won out in the end.  We both felt that the sandstone/picket fence had more of a beach house feel and would ultimately be the easiest to maintain.  Picket fences are hard work, they need regular painting and hedges need frequent trimming.


Ross installing the frame for the wood "pickets" before the sandstone cladding went on.


The pickets going on post-cladding. 


When we installed the stone fence we also relocated the letterbox and chose one that could be integrated into the fence itself.  As someone will invariably ask, the letterbox is the Mr Kelly Integrated Front Open Letterbox from Robert Plumb .  Please ignore the front of the house and the rest of the front garden, that is all still a work in progress!  

In the rear garden the most recent gardening work has focused on building a garden bed that runs almost the entire length of the back of the house and deck.


We have clad this garden bed in the same stone from Eco Outdoor that we used for the front fence.  We also intend to use this stone in the landscaping that is currently taking place around the pool and to clad an indoor/outdoor fireplace that we have on the back deck/living area. 


Ross put a lot of thought into the plants in this garden bed.  Amongst hardy and drought tolerant succulents we have planted lots of sanseveria,  cardboard palms. philodendrons and rhoeo. At either end of the planter box have we selected two mature plants, a multi-headed dragon tree at one end and a frangipani at the other.  We placed the dragon tree at the deck end of the planter box as it is quite a statement plant and will look amazing once established.


The frangipani came from our next door neighbours garden and already looks like it has been there for decades with a lovely aged patina to it's trunk.  The planting of this garden bed has completely transformed the back of the house and I am thrilled with how it has turned out.

Meanwhile, work continues elsewhere in the garden, the pool truly is a construction site at the moment and another stone garden bed is about to be constructed further along the deck.  I am looking forward to sharing these projects once complete also!


Monday, November 2, 2015

September school holiday wrap up (a wee bit late...)

 Now that the boys are in Week 5 at school I felt it was warranted that I update the blog, especially considering there are only 4 weeks of school remaining until they are back on holidays again. A frightening thought!


 The holidays were fabulous.  Both boys spent a week separately in Canberra visiting my parents and then a week was spent with us all together at the holiday house.  Lazy days spent surfing, bike riding,  eating,  crab catching and playing cricket on the beach.  The water was so crisp and refreshing we swam everyday despite the fact it was still on the chilly side.  Spine tingling rejuvenation therapy for all of us.


On our last evening we were sitting out on the front deck when someone walked past and called out that there was a whale and her calf frolicking in the water.  Glasses of wine and dinner preparations were quickly abandoned and we all raced down to the look out point to watch.  It was a joy for all of us to watch the whale and her baby playing together as they found somewhere safe to rest before they commenced their migration south for the summer.  I didn't take any photos as I didn't think to grab my camera or phone and I am actually glad that it turned out that way.  We were all so uplifted by the experience of watching the whale that I am delighted I was in the moment and enjoying it, not focused instead on trying to capture the perfect photo.


Lastly, I can't tell you how happy it made me that the 7 year old is still little enough to squeeze himself into a plastic storage tub for his evening bath.  My baby for a little longer.  There truly is joy to be found in the little things everywhere.


Tuesday, December 2, 2014

Painting the house


When we purchased the house it was a very pale, nondescript grey colour and despite being a  traditional and very popular colour for weatherboard houses, it just didn't work for us. So we have gone for something completely different, you can see the colours we painted the last house here.   This time we have chosen a very dark grey.  It took us a while to find the perfect grey as we found that a lot of greys have blue or even lilac/purple undertones in certain lights, but the fabulous colour that we have finally settled on has worked out perfectly and we are delighted with how it has completely transformed the house.  The architraves and trims now really pop out against the colour of the house and my next step will definitely be to put a potted bouganvillea on the deck to add a splash of pink to compliment the grey and white. 


The front door colour though still eludes me.  I suspect that is a decision that will have to wait until after we have started planting the front garden!  If anyone has any brilliant front door colour suggestions for me I would love to hear them or if you have any dark grey houses in your neighbourhood, what colour have they painted their front door?


Thursday, January 3, 2013

Christmas 2012 and Depot Beach (far away in time...)


Christmas was fabulous.  Apparently I was even having too much fun to take photos.  Luckily my Mum snapped this one before the kids got to the crackers.


Followed by a trip to the beach house for New Years.


As we are on tank water this is the most convenient and fun way to wash off after the beach.


I spent a lot of time doing this.... (nothing).


Will someone please take me down to the beach!?!


oh okay.....  R teaching them to surf.  Me, still doing nothing.  It was a lovely break.  Happy New Year all.
                       

LinkWithin

Related Posts Plugin for WordPress, Blogger...